


Pour-over coffee has a reputation for being fussy. A shelf of glassware, a thermometer, a scale that beeps at you. The truth is simpler: three variables decide almost everything — grind size, water ratio, and how you pour. Get them roughly right and you can make a cup at home that tastes cleaner and more distinct than most drip machines manage. The whole process takes about four minutes, and much of that is waiting.
This guide covers the gear worth owning, the numbers to start with, and the small adjustments that rescue a cup when it tastes off. Brew the same recipe a few times before you start changing things.
What You Actually Need on the Counter
Pour-over doesn't demand much. A cone, a filter, hot water, and coffee will get you a good cup. These tools make the results repeatable:
- A dripper. A Hario V60, Kalita Wave, or any Melitta-style cone works. Each drains a little differently, so pick one and learn it instead of rotating gear every week.
- Paper filters sized to your dripper. Bleached or unbleached both brew fine; rinse either one.
- A digital scale that reads in grams. This is the single easiest upgrade to your consistency.
- A burr grinder. Blade grinders chop beans into a mix of powder and boulders, which extracts unevenly. If you buy one thing beyond the basics, buy this.
- A gooseneck kettle. Not mandatory, but a narrow spout gives you control over where the water lands. It's the cheapest way to improve your pouring.
- Fresh whole-bean coffee, roasted within the last few weeks and ground just before brewing.
Grind Size Decides Most of the Cup
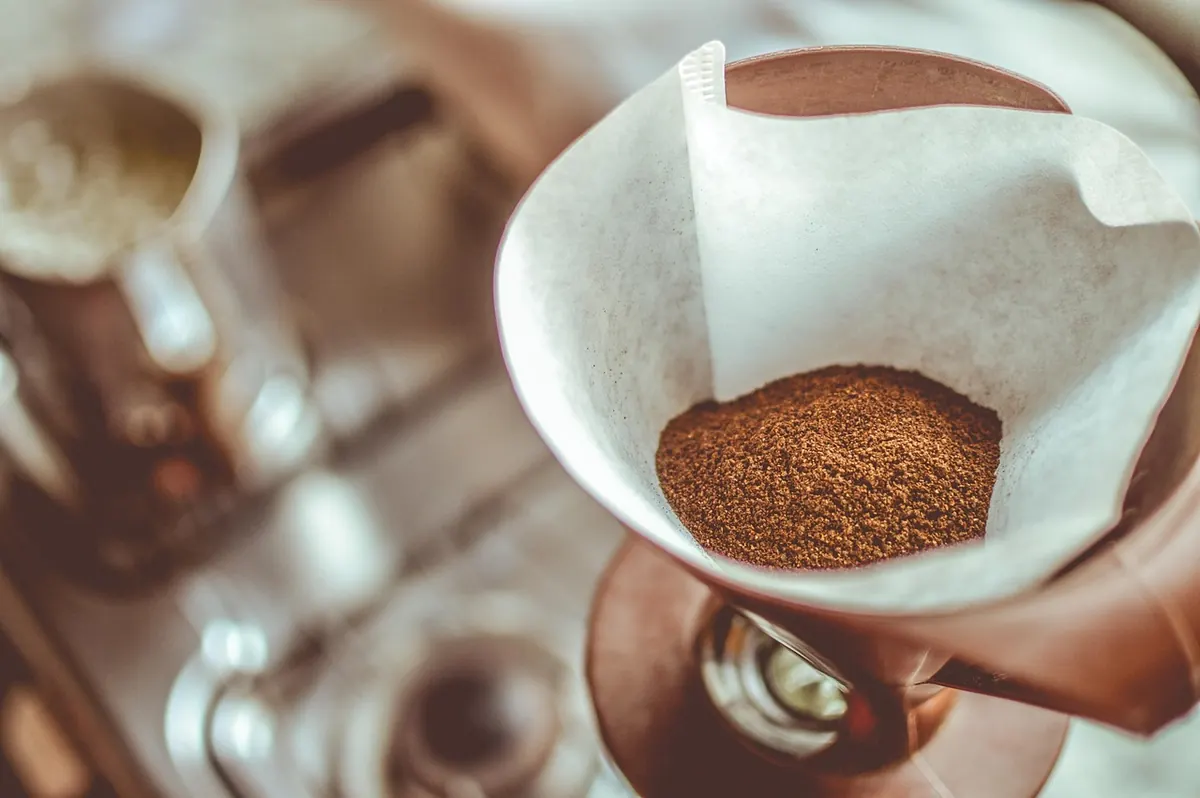
For a standard cone, aim for medium-fine — roughly the texture of table salt, with a little grit but no powder. Too coarse and water races through, leaving you with a thin, sour cup. Too fine and the bed clogs, the brew stalls, and you get bitterness and a dry, chalky finish.
Grind fresh every time. Aromatic compounds start fading within minutes of grinding, and pre-ground coffee gives you a flat, papery cup no pouring technique can fix. If your grinder has numbered settings, write down the one that worked. That number is your baseline for the next bag.
The Ratio, the Temperature, and the Numbers
Start with one gram of coffee to sixteen grams of water. A 20-gram dose with 320 grams of water fills roughly a 10-ounce mug once the grounds absorb their share. That ratio sits in the middle of the usual range, so you can nudge it sweeter or stronger later.
Water temperature matters as much as the ratio. Somewhere between 195°F and 205°F (91–96°C) extracts flavor without scorching. No thermometer? Boil the kettle, then let it sit for 30 to 45 seconds before you pour.
Use filtered water. Heavily chlorinated or very hard tap water flattens a coffee's character, and no amount of technique will bring it back.
Don't Skip the Bloom
Pour about twice the coffee's weight in water — 40 grams for a 20-gram dose — in a slow circle over the grounds, then stop and wait 30 to 45 seconds. Fresh coffee releases carbon dioxide during this pause. The bed puffs up and bubbles, and once that gas clears, water can reach the grounds evenly instead of channeling around them.
Skip the bloom and you'll often get an uneven, hollow-tasting cup. If nothing bubbles at all, your beans are probably old or the coffee is decaffeinated. Both still brew, but expect a quieter bloom.
The Pour, Step by Step
- Rinse the paper filter with hot water, then dump the rinse water. This removes any papery taste and warms the dripper and mug.
- Add the ground coffee and shake the dripper gently to level the bed.
- Tare the scale to zero, then pour the bloom water — 40 grams — starting in the center and spiraling outward.
- Wait 30 to 45 seconds. The bed should look evenly saturated and slightly domed.
- Pour the rest in slow circles, working from the center outward, keeping the water level about halfway up the cone. Avoid hitting the filter paper directly; water that runs down the sides never touches coffee.
- Aim to finish pouring by around 2:30, with the bed draining flat by roughly 3:30. Swirl the mug, then taste as it cools.
Steady beats fast. A controlled, even pour tastes better than a quick one, and the whole ritual is more pleasant when you're not rushing it.
When the Cup Tastes Off
Adjust one variable per brew. Change two at once and you won't know which fix worked.
- Thin and sour: grind finer, or raise the water temperature a few degrees.
- Bitter, dry, drying: grind coarser, or lower the temperature.
- Water pools and won't drain: the grind is too fine, or you agitated the bed too much. Coarsen it.
- Weak but not sour: use more coffee rather than less water — 22 grams instead of 20.
- Muddy and inconsistent from cup to cup: stale beans or an uneven grind. Fix the coffee before you rewrite your technique.
Make the Next Cup Better Than This One
Brew the same recipe three mornings in a row before you change anything. Keep a short note on your phone: dose, water weight, grinder setting, total brew time, and one word on how it tasted. Patterns show up fast — two or three logs and you'll know your grinder's sweet spot, and you'll stop guessing.
After that, chase repeatability rather than perfection. A good pour-over you can make on autopilot on a Tuesday morning beats a perfect one you manage twice a year. Rinse the filter, compost the grounds, and enjoy the cup while it's hot.
Photo: StockSnap / Pixabay
Related posts
More stories you’ll love reading